Showing posts with label Room Transfomation. Show all posts

Monday, November 10, 2025

Math Block Series: Football Season Classroom Fun


Football season is in full swing, so why not bring some football fun to your math classroom. I love to shake things up by doing a huge football transformation every year. Usually, I do this transformation during the opening week of football, or I will wait until the end of the season for the Superbowl. 

Here are a few ways to add a bit of football fun. This time of year, it is easy to find football themed bowls, tablecloths, and decor. Snag it up now if you plan to do a transformation! 

I use footballs marked with A-D for team questions or quizzes. Students listen to the question, run up and grab the correct letter (for the answer) and if they are correct, they receive a point for their team. You can use this with any content area. 


Use a simple football tablecloth for a game. Students move a pawn down the field as they solve math word problems that are written on  jerseys (for added fun).  When students reach the other side, they score a touchdown. 


Printable math games and activities are sure to spark a little more fun with this football theme. You can even leave the games for a week or more in math centers for extra practice after your football day. 


Look at your local bakery. I have found different football items that I have used over the year. One year I found cookies, I have also gotten the Reece's football shaped peanut butter cups. Sometimes I find little football-shaped candies that taste like candy corn. It is fun to have a treat to pass out at the end of the day or activities. 

 Mat
A football theme is a lot of fun, while still bringing the learning. Check out the links below if you need some football resources for your football themed day!


Football Math Worksheets & Activities

Tuesday, September 30, 2025

Math Block Series: Math Review

One of my favorite ways to review, with my students, at the end of a math unit, is through the use of high engagement, hands on activities. I LOVE to use my math escape rooms. They are all themed and perfect to use with a classroom transformation, if that is the sort of thing you like doing in your classroom. But, even if it isn't, these escape rooms are still engaging without transforming your room. For the example I am going to show you, I used my Mission to Mars escape room, which was a review of addition skills. Each escape room themed activity comes with three levels of play that include third grade, fourth grade, and fifth grade skills for easy differentiation. I kept the decorations very simple this time. I simply covered a table with a black tablecloth, added my packets and other supplies, laid out the drink ingredients (more on that in a bit), and added some star garland...super simple. The students were instantly asking questions as soon as they walked into the room...instant engagement. 


How to Prep the Review Game Materials

 I usually prep the packs for each team a few days ahead, or the day before. You just have to print everything for each challenge, cut and place in an envelope. I like to laminate all the puzzles so I can use them from year-to-year, so that is what I have been doing. This would be great to give to a parent who wants to be involved in the classroom, but really, the cutting itself did not take me too long. 

Take a Look at the Math Escape Challenges

When I introduce the escape to the students, I read off the introduction. It sets up the challenges and the goal for the challenge. I also tell them about what they earn at the end of each challenge. In this case, the addition escape room was a Mission to Mars theme. Students earned Star Bucks for each challenge they completed. After they completed each challenge, students were able to visit the Galactic Cafe' to make a special drink using their Star Bucks to pay for it. They were instantly hooked and worked so hard to figure out the secret codes for each challenge. The majority of my groups used about an hour of time, which was perfect for my math block. However, it could be split up where students do one or two challenges each day for a few days if you did not have that long. 

In the first challenge, students first rounded the numbers and solve the equations, matching puzzle pieces to the answers. Each puzzle piece had a letter on it and once the puzzle was complete, they asked for the decoder and were able to use it to find the secret code. This challenge generally takes the longest of any of them.


Challenge 2 includes a true/false worksheet for each student. Once students figure out which equations are true and which are false, they find the space ships that have the numbers matching the true equations. They put those space ships in numerical order and find their next code.  


For challenge three, students work to find the sums on each astronaut card. Once they figure out the sums, they will put those in order from least to greatest to reveal the next code phrase/word.


Challenge four has students engaging in a game of memory match. Once students match the equations to the sums, they will line up the number cards and place the matching card underneath, revealing their final code. 

This has honestly been such an engaging review activity for my students. 

Galactic Cafe'

For the Galactic Cafe' you need just a few items. There are labels to cover those items, to give everything a space theme. Here's a look at the final product. 


I have been hard at work creating a challenge for each math unit for my own classroom. I started with one for multiplication a couple of years ago, but this summer, I added the rest. I currently have: 

Place Value Safari
Mission to Mars Addition
Racing Subtraction
Circus Multiplicaiton
Dive-iding Down Under (Ocean themed dividing)

Get the entire bundle for a steal at just $29 dollars. You will save more than $8 by purchasing the challenges all together. Check those out by clicking the link here to add to your cart, or click the picture below. 


Monday, June 30, 2025

Summer Series Classroom Transformations Part 4: Set Up

Set up for classroom transformations can be as simple or elaborate as you want. A few little changes can pack a punch as far as engagement goes. You can get help from others, or set up on your own. I usually do set up for transformations on my own, but at times my own kids will help me, or even my husband. My dad sometimes helps me behind the scenes with taking my idea and constructing it. Here's a look at some simple, medium and higher level set-ups.


Easy Level Transformations


For a simple set up, this would involve minimal decoration and set up time could be done easily within just a few minutes the morning before or right after school the previous night. Here are a couple of examples of simple set ups and what it took to pull these off. 

Classroom Transformation Set up for Fraction Bakery

For my fraction bakery, the set up is simple. First I set up tables and laid out plastic table cloths. You can get these at Walmart for around one dollar. Next, I set out some disposable pans with activities inside. I put chef hats and aprons on each chair...these are something that I purchased a few years ago and keep to use from year-to-year. I put a little sign out that says Fraction Bakery to build excitement with my students. 

As far as decorating the space, that was it. I did also bring actual baking supplies and ingredients for this from home, but they are not laid out on the tables. During the day of this transformation, students are involved in fraction activities to create recipes using equivalent fractions and then they will make the recipes. Usually we do pizza.


Classroom Transformation Set up for Story Camp

For the Story Camp transformation (inspired by Kim Bearden of The Ron Clark Academy), I turn the classroom into a campsite. I have a lot of camping gear from our family trips and from an old classroom theme, so really the only think I purchase is a treat to share. I will explain that in a minute. 

I set a tent up in the background. Then I have these little log cushions that I place in a circle for student seating. I add a lantern, camp sign that says Welcome to our Campfire where everyone is welcome. I have one actual tree stump stool or camp chair that I sit in front of the tent. This is where whomever is sharing will sit. I place a felt campfire, that I made, in the middle of the circle and add some stuffed animals. This set up usually takes about 15-30 minutes. During story camp, students take turns sharing their original stories around the campfire. For a fun twist, I usually have s'mores pops at the end as a celebration. I make these with lollipop sticks stuck into giant marshmallows that are dipped 1/2 way in chocolate and rolled in graham cracker crumbs. 


 Another example of a glamping option...also, all things I already have.


Medium Level Classroom Transformation

A medium level takes a little more prep time, especially behind the scene to get ready for set-up day, but are still not that extreme.

Classroom Transformation set up for Mining

For this transformation we were learning about rocks, and I wanted the students to feel that they were underground in a mine. I created rocks from kraft paper and placed them around the door and in the windows. I made some dynamite sticks from pool noodles and electrical tape. I created a train track that was leading into my classroom. 

I purchased some geodes and brought in rock samples for the students to view. I scattered rocks and other rock memorabilia around the classroom. We covered the windows to create a dark (underground) feel. I set out hard hats with headlamps for each student. 

We had lots of different stations that we set up inside the "cave" and I had another teacher working with me to teach the stations and help students rotate. We joined her class with mine for this transformation. We examined the smallest rocks (dirt), made sedimentary rock, looked at rocks under a microscope, tested rocks for their properties, and looked at famous rocks like Mount Rushmore and Stonehenge.  

It was fun putting this together with another teacher and joining forces for the day. 


Challenging Level Classroom Transformation:

Classroom Transformation for Wild Kratts

The simple and medium classroom transformations, while still just as powerful, take much less time. It's easy to use things you have or even borrow supplies for the day from a friend or student families. 

Now, let's look at a bigger and more complex transformation. This one took several hours. I had my family helping me, so that made set up a bit faster. I needed to craft some of the items before set up day.

Crafted Items: 
A tree: I made and painted a large tree from cardboard. 
Grass: I used butcher paper to cut out grass shapes. I glued two layers together with wire in between so I could bend the grass to make it more realistic.
Fireflies: I created fireflies with empty water bottles. I drew and colored fireflies large enough to cover the bottles. On the day of the transformation, I stuck glowsticks inside to give it that bioluminescence piece. 
Letters: I printed and cut out letters to create the Wild kratts Logo and then printed a banner that said Creature Powers
Power Discs: I made little discs for the animals we were going to study.
Paw Prints: I made paw prints in different colors for each group.
Shirts: I created Wild Kratt shirts like Chris and Martin Kratt wear. I took black t-shirts, cut off the sleeves to create a vest and shortened the bottom. I added felt embellishments to make them look more like the vests on the TV show.
 
On the actual day of set up, we hung background paper to create a sky and added mountains to give a nice nature feel. I used tree stumps and the grass and laid out a spider that I purchased and added a real turtle shell that I had collected.

I wanted to make a cave since we would be studying bats. I took a tent and we wrinkled up some kraft paper (I purchased at Dollar Tree) and we covered the tent to make it into a cave. I hung some bats up inside. 

I used clear fishing line to hang the fireflies. Right before we started our class, I inserted yellow glowsticks inside each one. We hung the tree with fishing lines as well and added an owl and opossum to it.

On the board, I hung the letters to spell Wild Kratts and the banner that said Creature Powers.

For each table, we covered them with a different color of table cloth (to match the paw prints on the shirts) and taped a large paw print to the supply bin. 

I hung any activities we needed up on the walls as well and we were all ready to begin. 

The next day (Monday) was the transformation. Students were involved in activities to learn about different creatures in North America. We learned about echolocation with bats and about bioluminescence with invisible ink and fireflies. We did lots of other animal activities as well. We had an amazing time.

While this transformation was definitely a lot more work, it is something I enjoy doing. Teaching, for me, is not just a job, it is also my hobby. 


Classroom transformations are definitely not a one-size-fits-all activity. You have wiggle room to tailor them to your comfort and time availability. I would say, if you have never done one of these, start small and work your way up as you gain more ideas and confidence. 

Be sure to check out the rest of my summer series posts by clicking on these links and learning more about Classroom Transformations. 


Thursday, June 26, 2025

Summer Series Classroom Transformations Part 3: Linking the Standards


Now we all know that we cannot generally create room transformations just for the fun of it. Yes, the fun is part of the charm and thrill of a good transformation, but it definitely has to have a point. The point to all of this is, going deep with the standards. Students will work hard for you when they are fully engaged…THAT is the point! Teach those tricky standards with a little extra one, two punch…a game, and video, or….A CLASSROOM TRANSFORMATION. Students will be more excited and may not even realize they are learning. Many students do not think of learning as fun, so to them anytime it is fun, it is not learning. The truth is it actually is learning and with this kind of hype, you can take them deeper and push them harder than ever before, because of their mindset. They WANT to learn.

Let’s take a few minutes to walk through three different room transformations and how we insert the learning amongst all that fun.

1.    Titanic Room Transformation

I know that students are fascinated with the history of the Titanic disaster, so I chose to do a unit on this theme with a small transformation at the end. Let’s look at how the curriculum was brought into this theme.

Reading: First and foremost, I decided that our lead-in would be reading groups. I chose books for each of my reading groups as we started our learning. It was important to me that all of my students were involved in this historical event through books, from the lowest reading group to the highest, and everywhere in between.


With the books, we practiced different reading strategies and we had discussions about the events. This is the easy part and you can certainly add in just about any strategy for comprehension including determining importance, making connections, visualizing, and comparing and contrasting.

2.     To connect a writing piece, I had the students write simple subject predicate poems. These are easy for a wide span of ages and student could use them to retell the story of what happened. Here's a look at two of my student examples.

1
Titanic leaving
People cheering
Pool splashing
1st Class relaxing
2nd Class playing
3rd class immigrating
Lookout seeing
Passengers snoring
Iceberg hitting
Travelers rushing
Lifeboats going
Unsinkable sinking


2
People swimming
Dining room stunning
Guards guarding
Maids cleaning
Boat bumped
Iceberg hits
People wondering
Swimming stops
People shake
Compartments fill
Water spills
Kids scream
Babies wail
Lifeboats fill
Lifeboats lower
Titanic snaps
Titanic sinks
Lives lost
People crying
Titanic passes
Titanic gone


3.     For science, we were able to incorporate a few activities. One thing we did was a STEM project where students became boat builders. They had to work together in groups to create boats that could carry heavy loads. Then we tested them out.

We also created an iceberg by filling a water balloon with water and freezing it. Once it was frozen, we removed the balloon, leaving a balloon shape of ice. We dropped it into a container of water and observed how most of the ice was below the surface, while only a little bit was sticking out at the top. I used this to connect students to the hidden danger of icebergs and how most of the ice is lurking below the surface where you cannot see it. It was definitely eye opening.

4.       Students were given a project to make a visual representation of one part of the Titanic story through a diorama. They wrote a short paper about the event that was depicted and why they chose that part of the story. Each student then presented their project in front of the class. And we left them in the school hallway, for a few days, so the other students could enjoy them as well.


5    On the final days of our learning, I hosted two mini transformation/simulations of the afternoon teas. We first experienced a third-class tea, which was, of course, very basic. Then we  had a first-class tea another day. It was fancy and elaborate and students were able to see the discrepancy between the classes.


6.       Glow Day


Usually when I have glow day I go with a multiplication theme. I use it as a way to introduce multiplication to my students (or if this is a new skill for them, I would wait until after we do that unit in our math curriculum) and we do a whole bunch of center activity games to foster a love of learning.
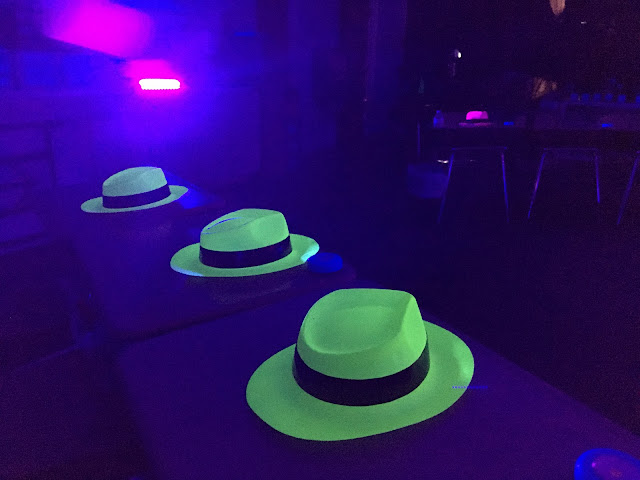
 

I like to start my students off with a multiplication fact sheet (sometimes multiple fact sheets). But it makes it more fun because they get to use a highlighter and it automatically lights up with a nice glow.


Afterwards, I set out a game called Multiplication Slam on the desks. This is a speed activity that gets students trying to solve facts (of all one set) quickly. Students get one minute to place all the answers on an equation card. Then we rotate desk spots and try again and again so each student gets to do all the fact cards from 1-12.


For the center activities, any game really can work, but adding a little bit of glow is a bonus. I usually give each group about 15 minutes at each station. Here are some ideas of things I have tried in the past.


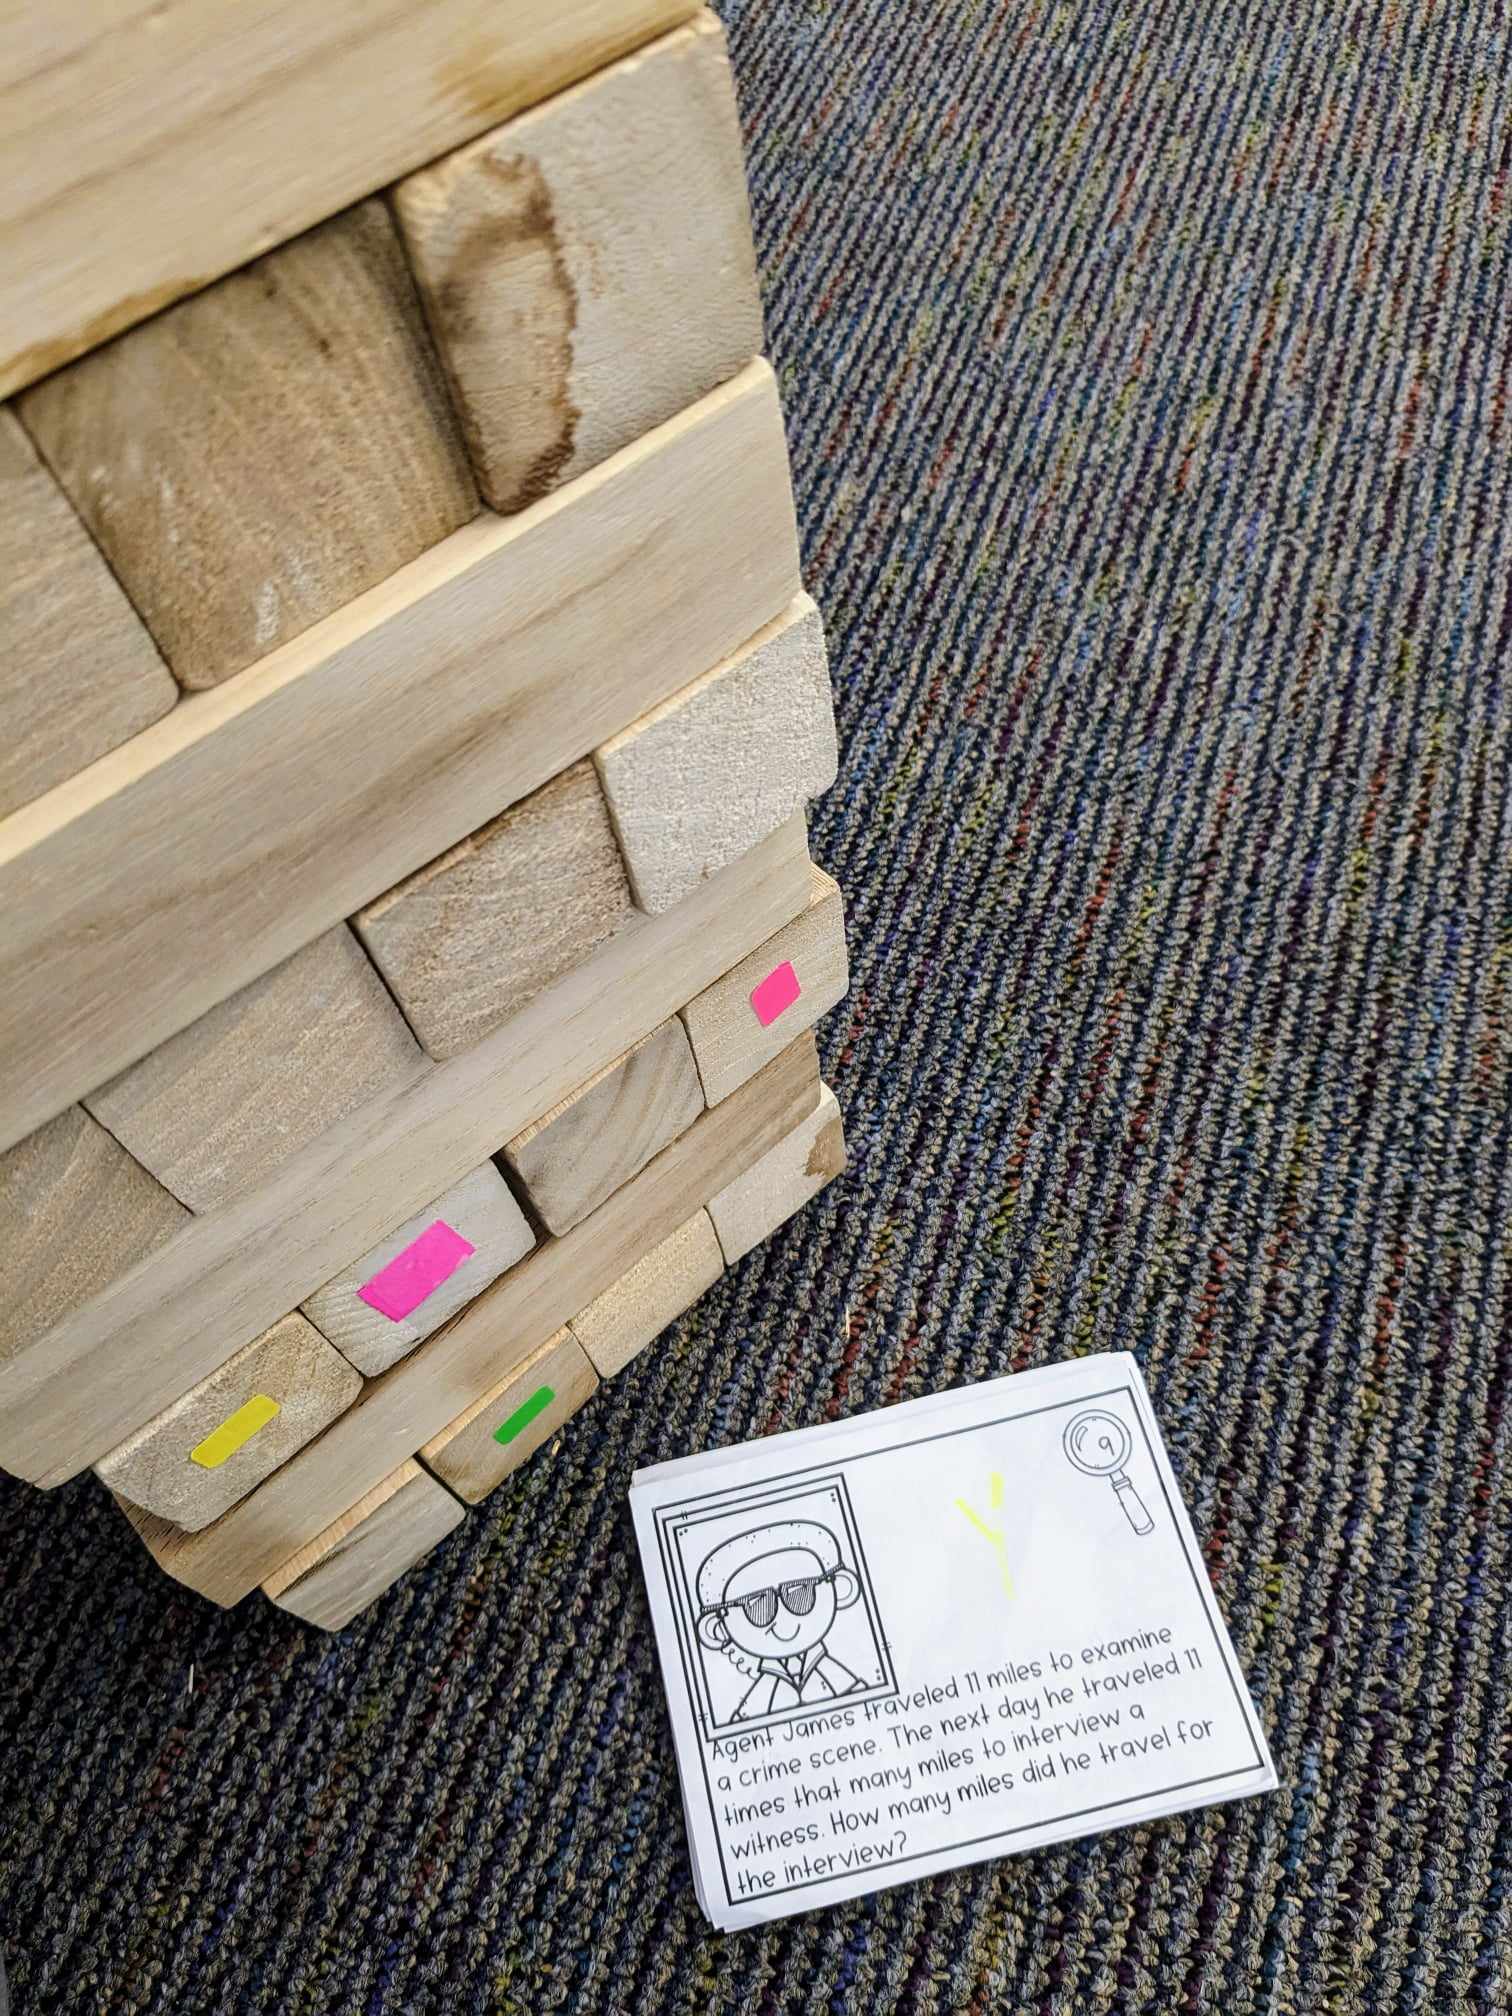
Set up a game of Jenga. I have the extra-large size set, but any size could work. I used neon label stickers on the ends of each piece to create a glowing spot. Then I printed out multiplication task cards on sheets of different colors to match the stickers. Sometimes I use white paper with a colored neon dot in the corner to go with each sticker color. Students mix the stack and turn it upside down. They take turn solving problems and find a piece in the Jenga game to try to remove and place on top. Play continues around until someone knocks over the Jenga tower.
 store post

Another fun way to practice is to get some glow sticks and tape to create a game of tic-tac-toe on the floor. Use two sticks to create an “X” and use the connectors for the glowsticks to make an “O”. At this station, students should divide into two teams. Add some multiplication cards. Teams will draw a card, solve, and play one of their X’s or O’s.


I purchased a neon colored connect four game a while back and I like to bring it out on glow day. All you need to add are a couple of dice (use 12-sided for a more challenging game). The students will divide into two teams and take turns rolling the dice, multiplying the numbers, and then adding a game token into the Connect Four game.


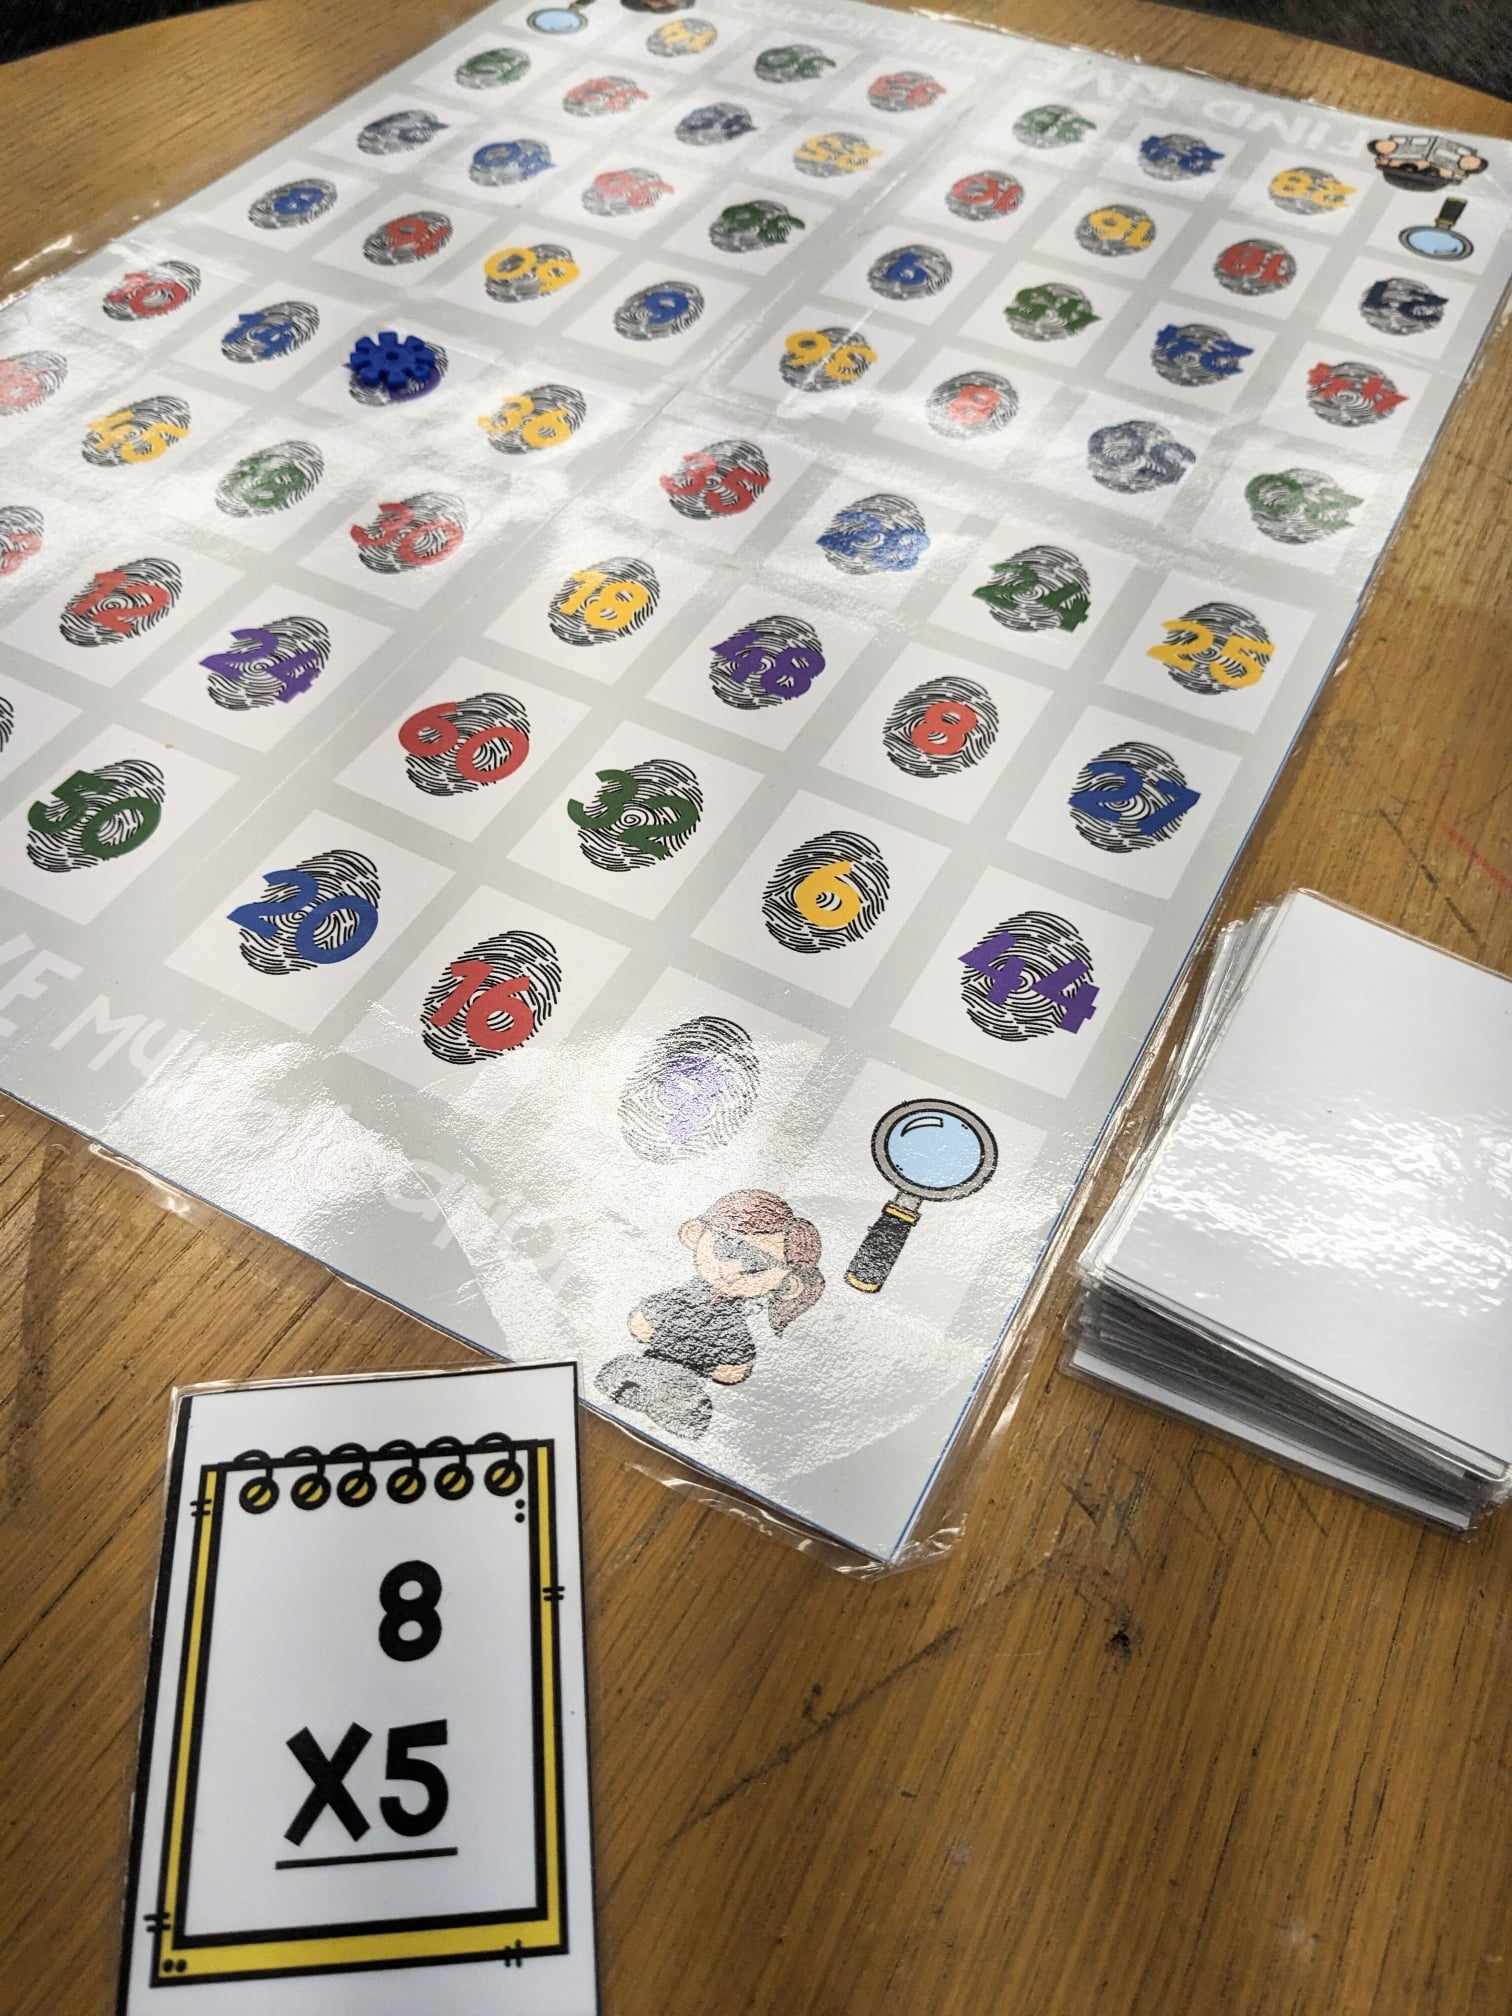
I put out other multiplication games as well such as a mystery game called Find Five. Really, any game can work, and you can create easy glowing games with neon paper cards or glow sticks.
 store post

I usually divide my students up into small groups to play these games. Since I have a smaller class, I usually have about 4 groups. This means I need to come up with at least four game rotations.


Sometimes I will do some reading activities as well. It is fun to find articles on bioluminescence for students to read about. We use little tap lights to illuminate the text and they annotate with highlighters, or they could use sticky notes.


7.       Toy Story

Several years ago, I happened to be at the Ron Clark Academy on a day when Hope King was doing her STEAM Mania Toy Story transformation, so many of these ideas came from her.


One activity that was for math was a “claw Machine”. Students could grab the aliens and solve the math problems. This could work with any math skill you are learning, but it could work for other subjects as well.


We also did an unlock the toys escape room. Students were working to figure out different clues and unlock boxes. In the end they won a prize. Escape rooms are great because they are also usually standards based.


Another activity we have done before is a STEM challenge where students create a parachute for one of those green army guys. They want to create a parachute to help slow down their falling army guy. We drop the guys from a tall place like the top of a slide or climbing structure.


Any STEM activity that involves toys or army could work.


As you can see, it is not hard to find ways to bring your transformation to life with the standards. It just takes a little creativity.

In the next segment, we will be talking all about setting up this transformations. 

Classroom Transformations Part 2: Inspiration

Classroom Transformations Part 1: What are They