Now we all know that we cannot generally create room
transformations just for the fun of it. Yes, the fun is part of the charm and thrill
of a good transformation, but it definitely has to have a point. The point to all
of this is, going deep with the standards. Students will work hard for you when
they are fully engaged…THAT is the point! Teach those tricky standards with a
little extra one, two punch…a game, and video, or….A CLASSROOM TRANSFORMATION.
Students will be more excited and may not even realize they are learning. Many
students do not think of learning as fun, so to them anytime it is fun, it is
not learning. The truth is it actually is learning and with this kind of hype, you
can take them deeper and push them harder than ever before, because of their
mindset. They WANT to learn.
Let’s take a few minutes to walk through three different
room transformations and how we insert the learning amongst all that fun.
1. Titanic Room Transformation
I know that students are fascinated with
the history of the Titanic disaster, so I chose to do a unit on this theme with
a small transformation at the end. Let’s look at how the curriculum was brought
into this theme.
Reading: First and foremost, I decided that
our lead-in would be reading groups. I chose books for each of my reading
groups as we started our learning. It was important to me that all of my
students were involved in this historical event through books, from the lowest
reading group to the highest, and everywhere in between.


With the books, we practiced different
reading strategies and we had discussions about the events. This is the easy
part and you can certainly add in just about any strategy for comprehension
including determining importance, making connections, visualizing, and comparing
and contrasting.
2. To connect a writing piece, I had the students
write simple subject predicate poems. These are easy for a wide span of ages
and student could use them to retell the story of what happened. Here's a look at two of my student examples.
1
Titanic leaving
People cheering
Pool splashing
1st Class relaxing
2nd Class playing
3rd class immigrating
Lookout seeing
Passengers snoring
Iceberg hitting
Travelers rushing
Lifeboats going
Unsinkable sinking
2
People swimming
Dining room stunning
Guards guarding
Maids cleaning
Boat bumped
Iceberg hits
People wondering
Swimming stops
People shake
Compartments fill
Water spills
Kids scream
Babies wail
Lifeboats fill
Lifeboats lower
Titanic snaps
Titanic sinks
Lives lost
People crying
Titanic passes
Titanic gone
3. For science, we were able to incorporate a few
activities. One thing we did was a STEM project where students became boat
builders. They had to work together in groups to create boats that could carry
heavy loads. Then we tested them out.
We also created an iceberg by filling
a water balloon with water and freezing it. Once it was frozen, we removed the
balloon, leaving a balloon shape of ice. We dropped it into a container of
water and observed how most of the ice was below the surface, while only a
little bit was sticking out at the top. I used this to connect students to the hidden
danger of icebergs and how most of the ice is lurking below the surface where
you cannot see it. It was definitely eye opening.
4.
Students were given a project to make a visual
representation of one part of the Titanic story through a diorama. They wrote a
short paper about the event that was depicted and why they chose that part of
the story. Each student then presented their project in front of the class. And we
left them in the school hallway, for a few days, so the other students could
enjoy them as well.
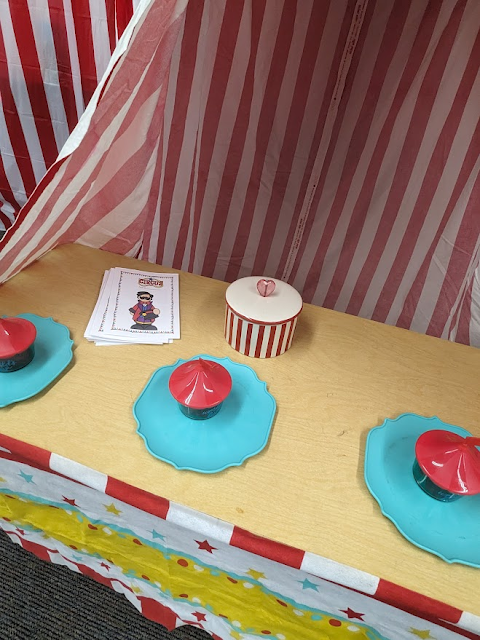
5 On the final days of our learning, I hosted two
mini transformation/simulations of the afternoon teas. We first experienced a
third-class tea, which was, of course, very basic. Then we had a first-class tea another day. It was
fancy and elaborate and students were able to see the discrepancy between the
classes.

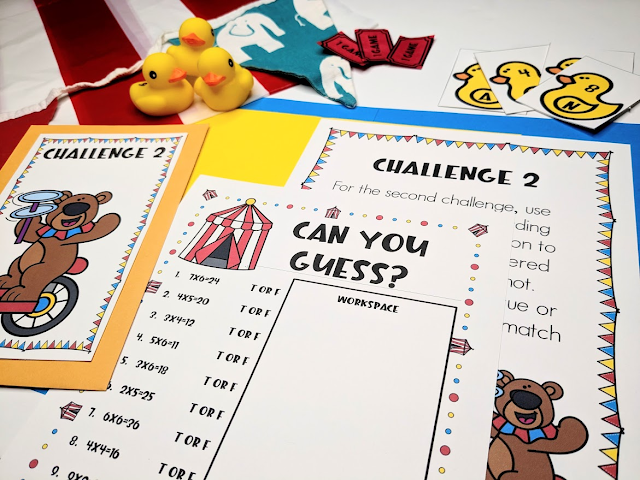
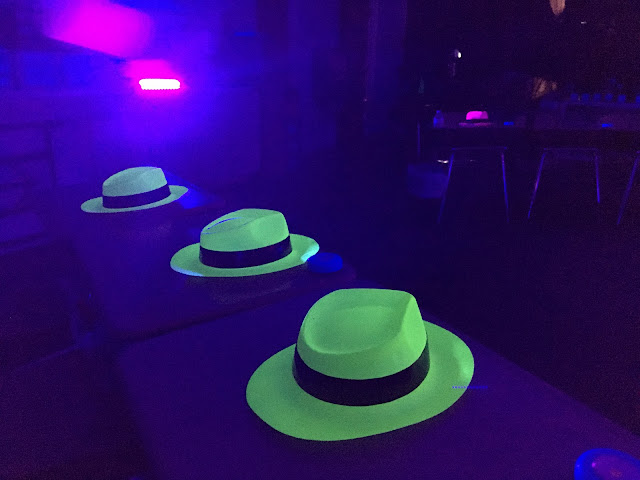
6.
Glow Day
Usually when I have glow day I go with a multiplication
theme. I use it as a way to introduce multiplication to my students (or if this
is a new skill for them, I would wait until after we do that unit in our math
curriculum) and we do a whole bunch of center activity games to foster a love
of learning.
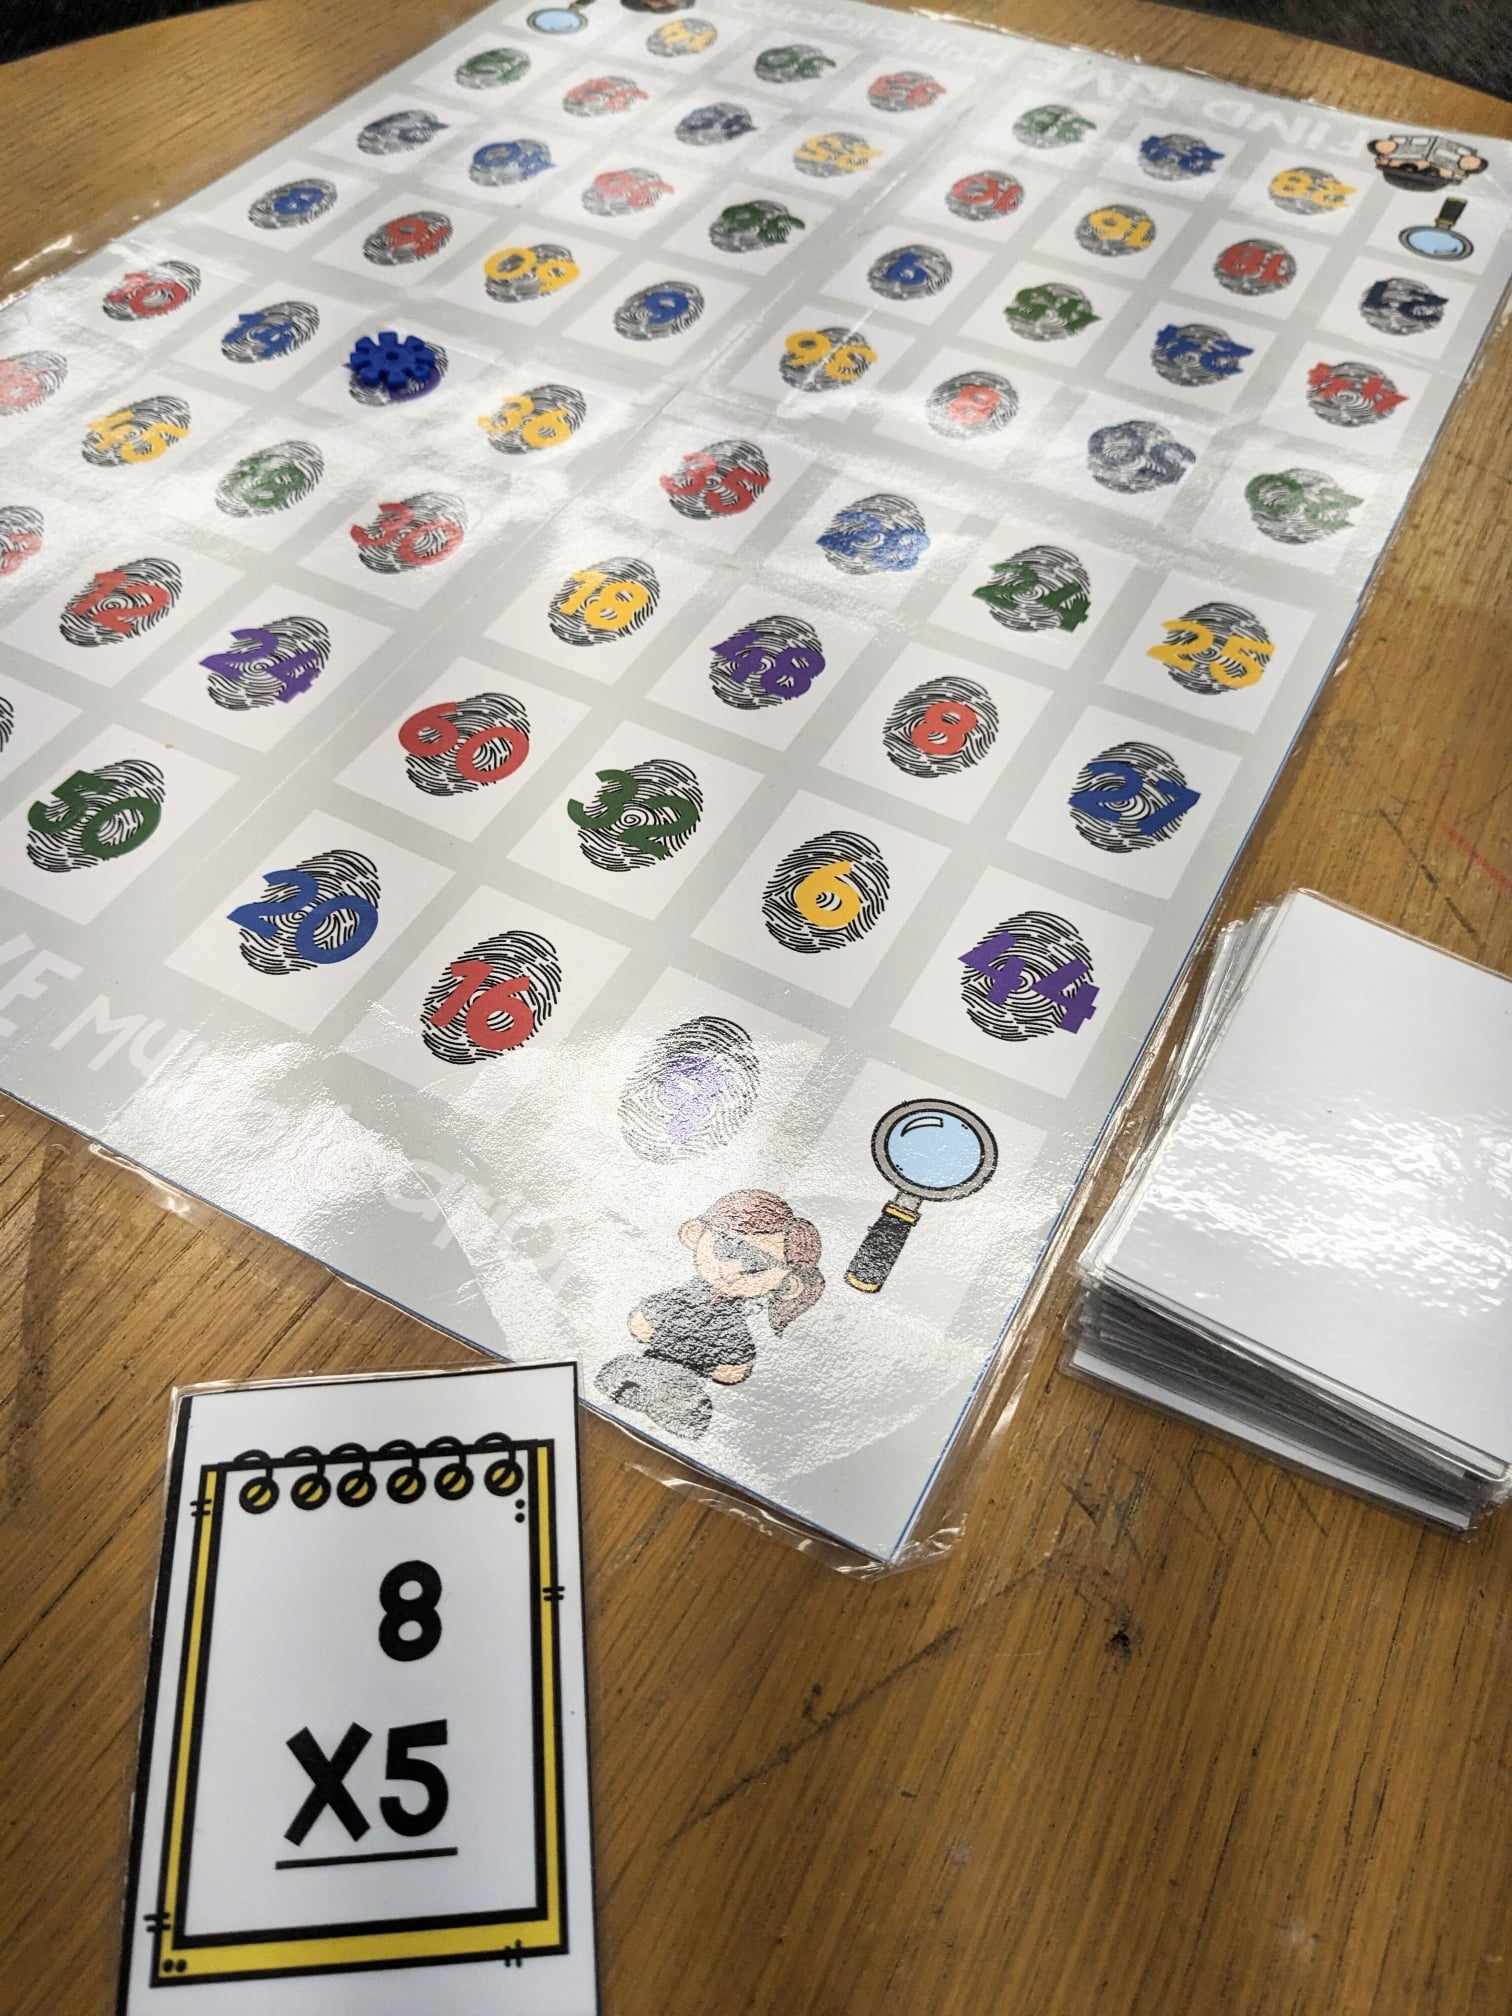
I like to start my students off with a multiplication
fact sheet (sometimes multiple fact sheets). But it makes it more fun because they
get to use a highlighter and it automatically lights up with a nice glow.

Afterwards, I set out a game called
Multiplication Slam on the desks. This is a speed activity that gets students trying
to solve facts (of all one set) quickly. Students get one minute to place all
the answers on an equation card. Then we rotate desk spots and try again and
again so each student gets to do all the fact cards from 1-12.

For the center activities, any game really can
work, but adding a little bit of glow is a bonus. I usually give each group
about 15 minutes at each station. Here are some ideas of things I have tried in
the past.
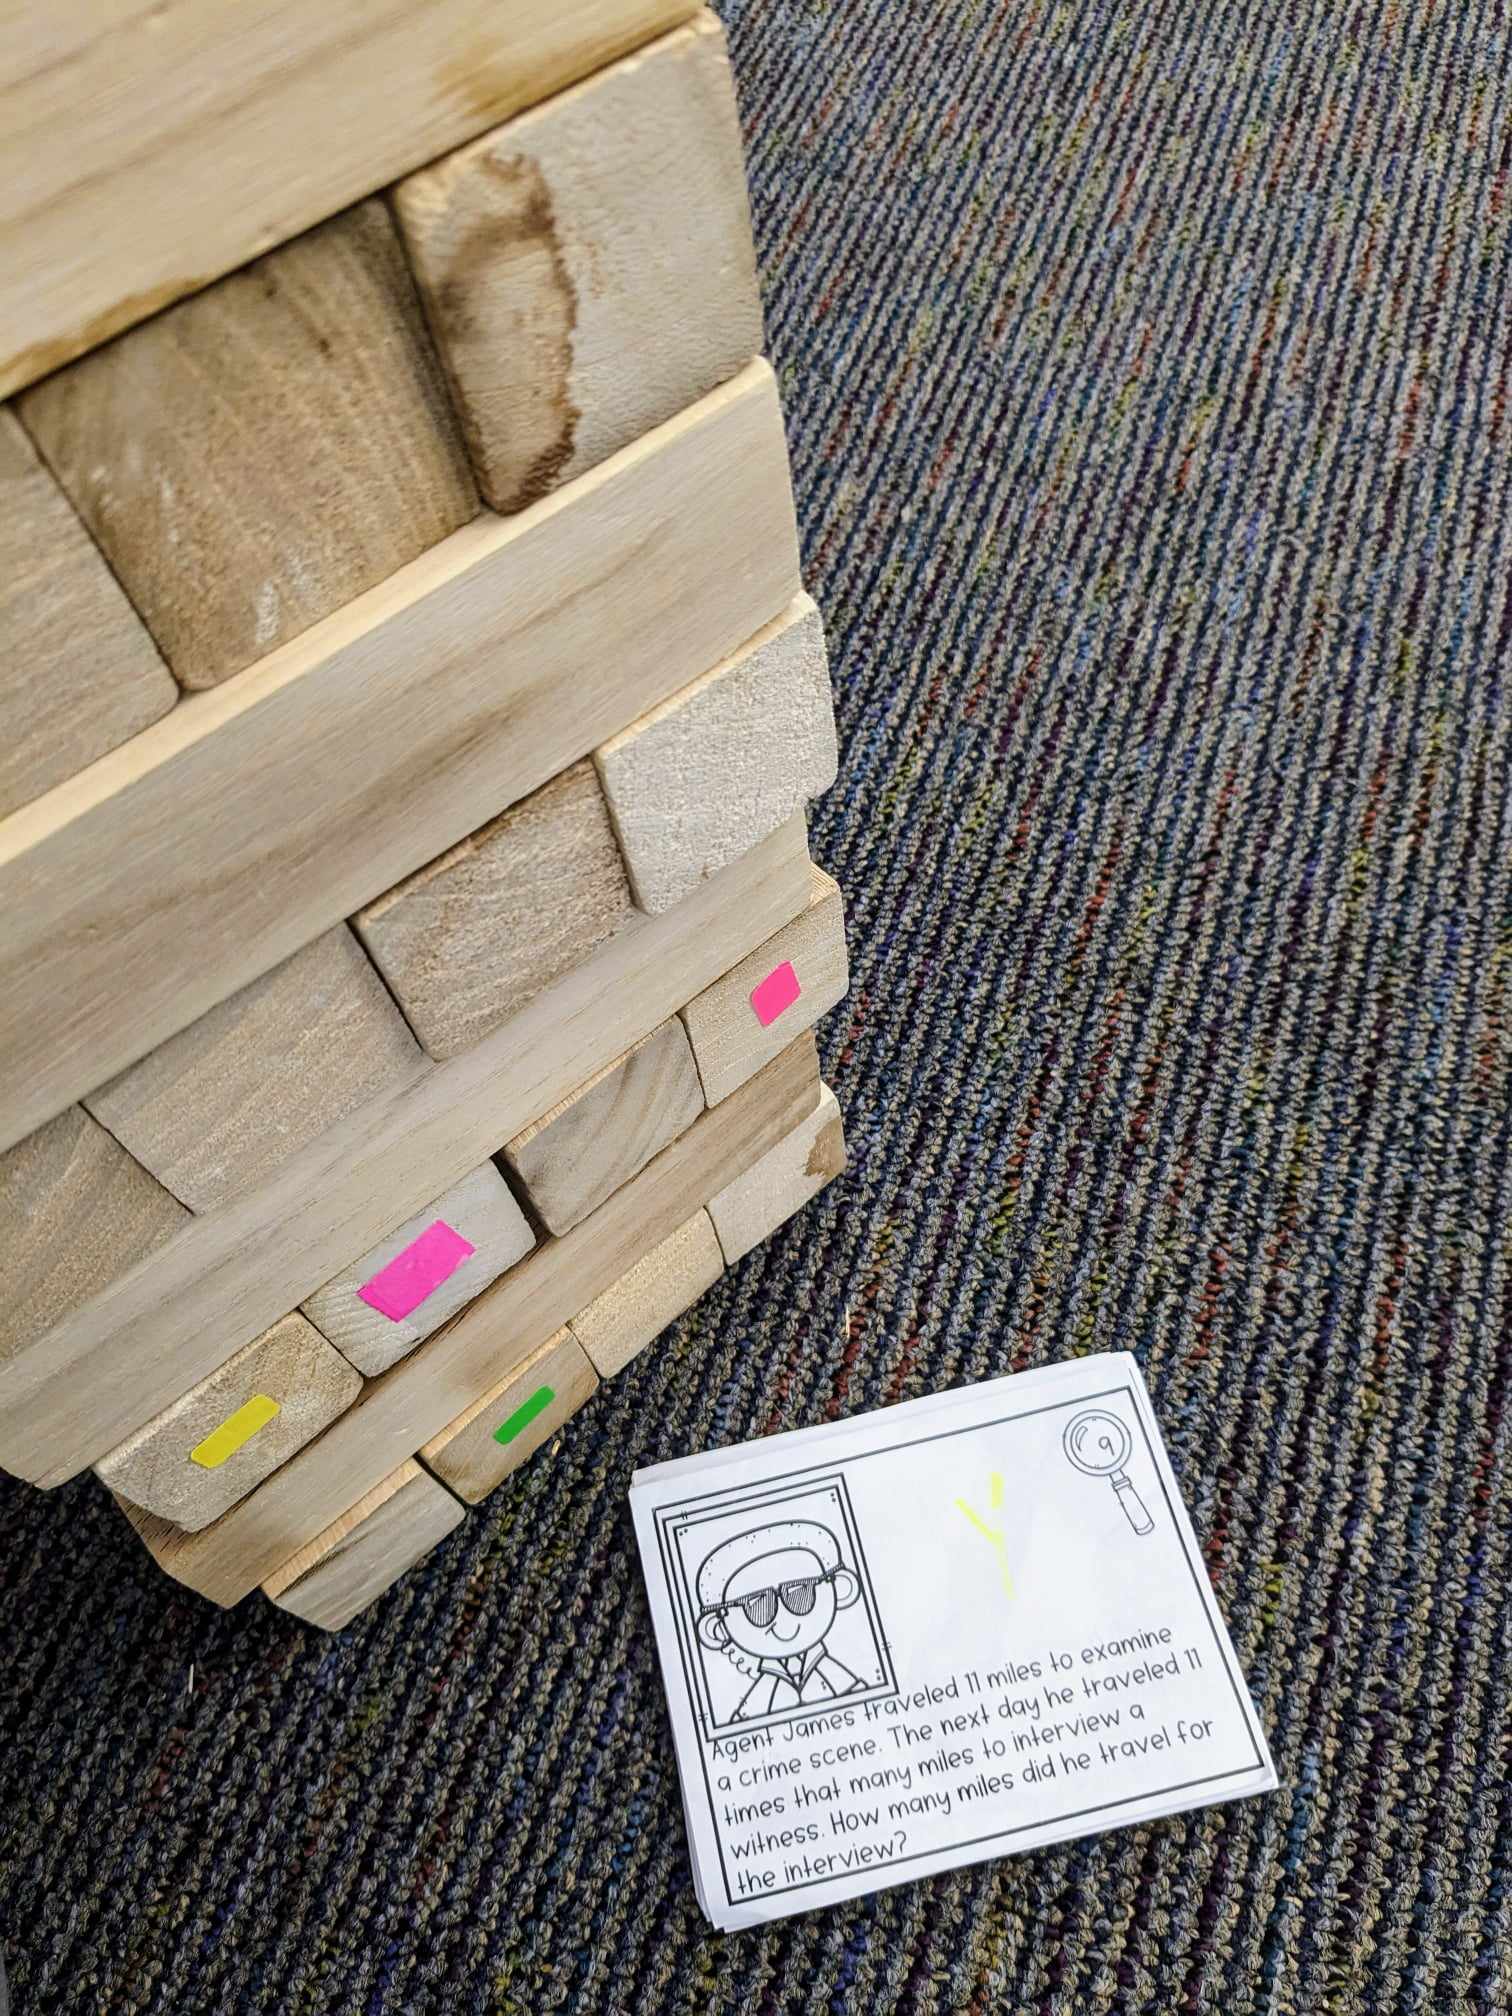
Set up a game of Jenga. I have the extra-large
size set, but any size could work. I used neon label stickers on the ends of
each piece to create a glowing spot. Then I printed out multiplication task
cards on sheets of different colors to match the stickers. Sometimes I use white paper with a colored neon dot in the corner to go with each sticker color. Students mix the stack
and turn it upside down. They take turn solving problems and find a piece in
the Jenga game to try to remove and place on top. Play continues around until
someone knocks over the Jenga tower.
Another fun way to practice is to get some
glow sticks and tape to create a game of tic-tac-toe on the floor. Use two
sticks to create an “X” and use the connectors for the glowsticks to make an “O”.
At this station, students should divide into two teams. Add some multiplication
cards. Teams will draw a card, solve, and play one of their X’s or O’s.

I purchased a neon colored connect four game
a while back and I like to bring it out on glow day. All you need to add are a
couple of dice (use 12-sided for a more challenging game). The students will
divide into two teams and take turns rolling the dice, multiplying the numbers,
and then adding a game token into the Connect Four game.
I put out other multiplication games as
well such as a mystery game called Find Five. Really, any game can work, and
you can create easy glowing games with neon paper cards or glow sticks.
I usually divide my students up into small groups
to play these games. Since I have a smaller class, I usually have about 4
groups. This means I need to come up with at least four game rotations.
Sometimes I will do some reading activities
as well. It is fun to find articles on bioluminescence for students to read
about. We use little tap lights to illuminate the text and they annotate with
highlighters, or they could use sticky notes.
7.
Toy Story
Several years ago, I happened to be at the
Ron Clark Academy on a day when Hope King was doing her STEAM Mania Toy Story
transformation, so many of these ideas came from her.
One activity that was for math was a “claw
Machine”. Students could grab the aliens and solve the math problems. This
could work with any math skill you are learning, but it could work for other subjects
as well.
We also did an unlock the toys escape room.
Students were working to figure out different clues and unlock boxes. In the
end they won a prize. Escape rooms are great because they are also usually
standards based.
Another activity we have done before is a STEM
challenge where students create a parachute for one of those green army guys.
They want to create a parachute to help slow down their falling army guy. We
drop the guys from a tall place like the top of a slide or climbing structure.
Any STEM activity that involves toys or army
could work.
As you can see, it is not hard to find ways to bring your
transformation to life with the standards. It just takes a little creativity.
In the next segment, we will be talking all about setting up
this transformations.
Classroom Transformations Part 2: Inspiration
Classroom Transformations Part 1: What are They